

A Guide to Using Cornerstone SuperTherm Insulated Plaster for Breathable Internal Wall Insulation
Cornerstone SuperTherm insulated plaster is a breathable lime plaster designed to improve the thermal performance of solid walls while supporting effective moisture management. Suitable for internal applications, this ultra-lightweight insulating plaster helps reduce heat loss, improve comfort, and maintain the breathability needed in traditional, solid-walled, and heritage properties.
As with many high-performance breathable insulation products, achieving the best results with SuperTherm plaster depends on correct preparation, application, and finishing.
To make the process easier, we reviewed the manufacturer’s technical guidance, studied the product data, and worked with a local conservation builder to test the application method. This guide brings those findings together in a simple, practical format to help you apply Cornerstone SuperTherm insulated plaster successfully.
What Is Cornerstone SuperTherm Insulated Plaster?
Cornerstone SuperTherm is an extremely lightweight insulating plaster with a soft, airy structure. It should be thought of primarily as an insulation layer rather than a finished render. For a durable and complete system, SuperTherm must be protected with the SuperTherm Topcoat.
Why Application Technique Matters
Because this breathable insulating plaster is designed for thermal performance as well as vapour permeability, careful application is essential. Correct preparation and finishing will help you get the insulation benefits of SuperTherm while protecting the wall surface and preserving moisture movement through the building fabric.
Cornerstone SuperTherm Insulating Plaster Application Method
This technical guidance explains how to prepare, mix, apply, cure and finish Cornerstone SuperTherm insulating plaster for reliable thermal performance, breathability and adhesion on suitable masonry backgrounds.
Surface Preparation for SuperTherm Plaster
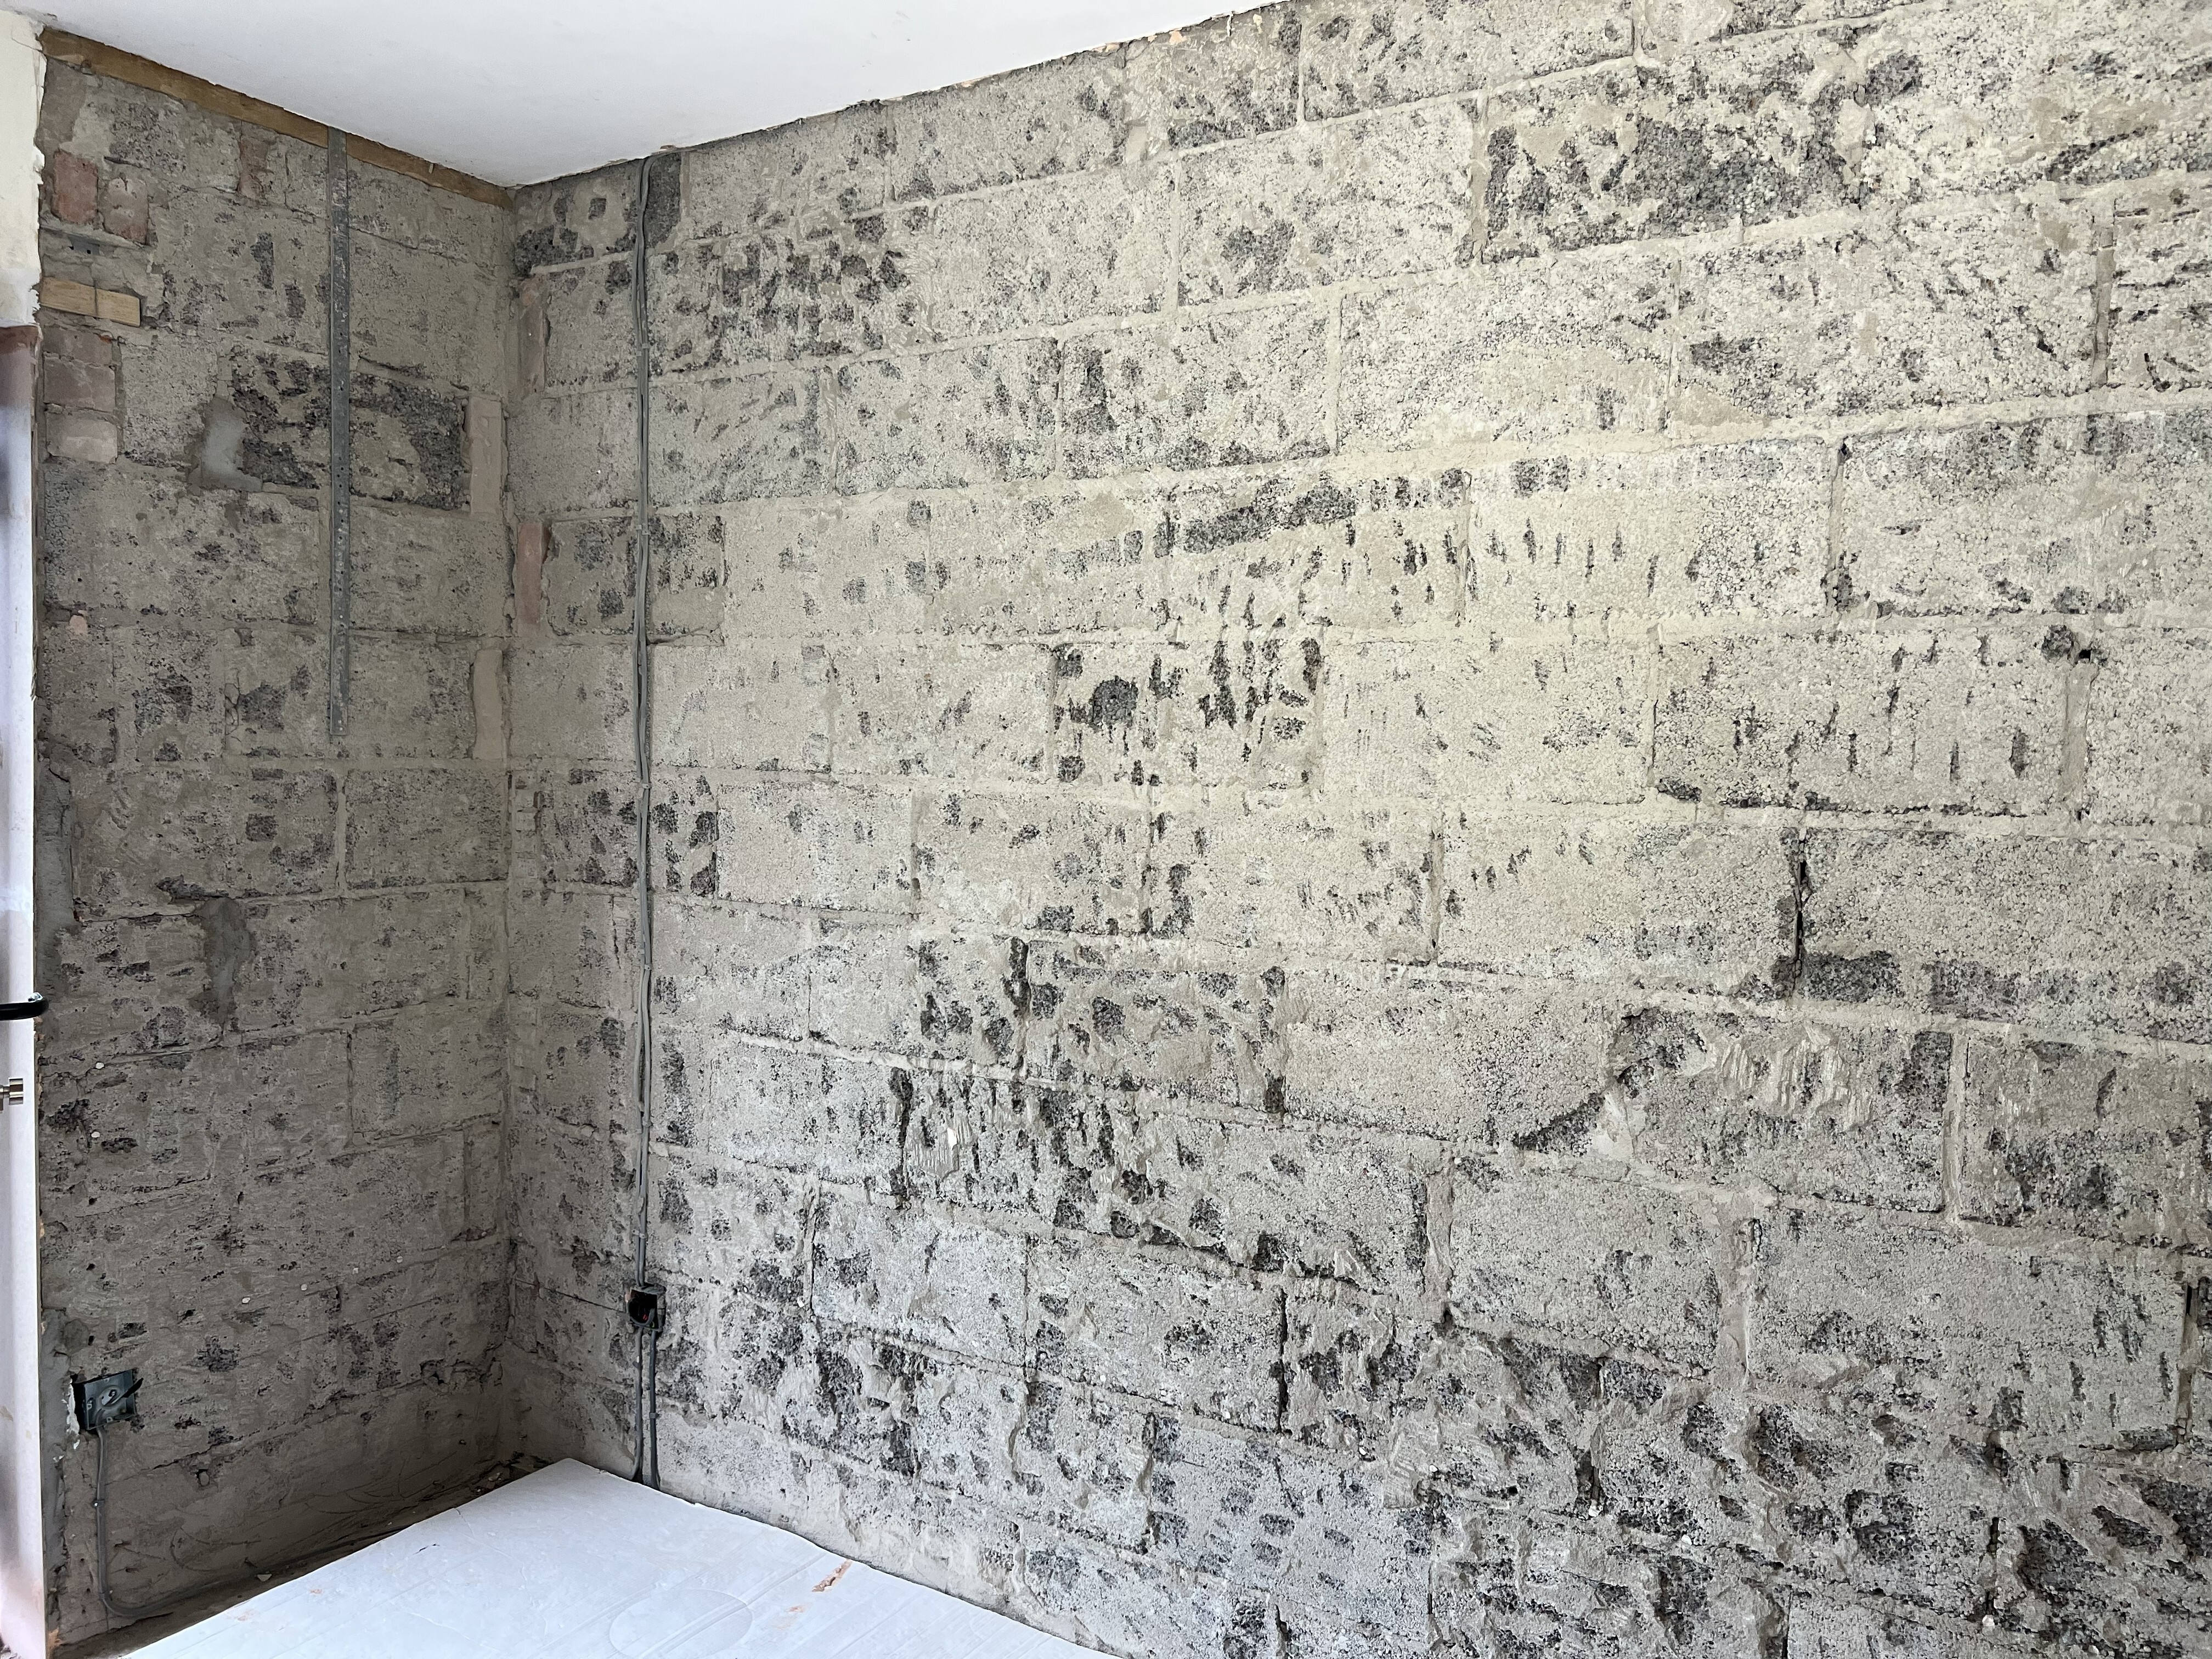
Ensure all surfaces are clean, sound and free from dust, debris and any non-breathable coatings that could reduce the adhesion of SuperTherm insulating plaster.
To control suction, lightly dampen the surface before application. Over-wetting will not affect the strength of the plaster, but it may reduce the thickness of render or thermal plaster that can be applied in a single coat.
If the surface is very smooth or has very low suction, apply a breathable bonding coat such as Cornerstone Promix Fibred Base-coat before applying the insulating plaster.
Mixing SuperTherm Thermal Plaster
For best results, mix SuperTherm plaster in a conventional cement mixer to achieve a consistent blend and predictable setting performance.
SuperTherm can also be mixed with a plasterer’s whisk, although this may slow the set of the material and increase curing time before the topcoat is applied. As a guide, allow around 2 weeks of curing when using a whisk, compared with around 1 week when using a conventional mixer.
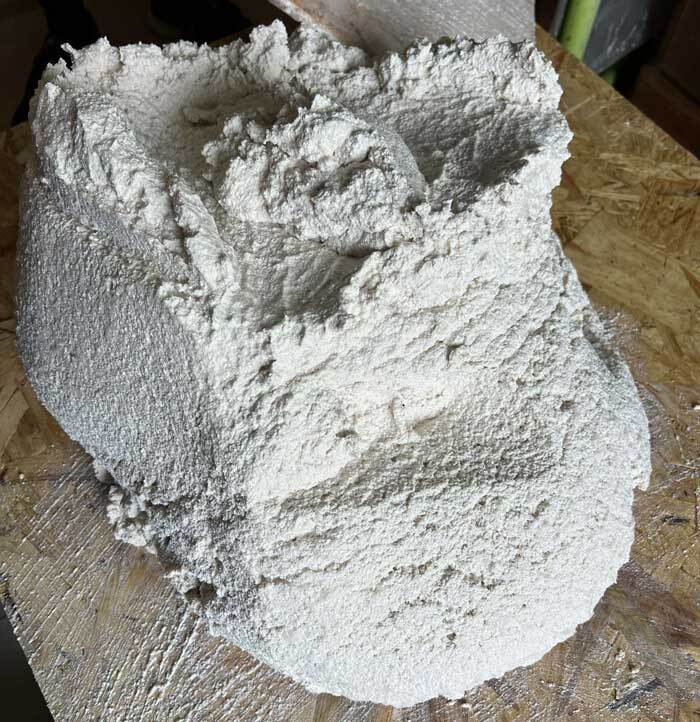
Water addition will vary depending on the application method and the required consistency, but typically 4.5 to 5 litres will be needed. Add only enough water to achieve a workable consistency, as over-wet mixing can increase shrinkage as the plaster cures.
Add approximately 80% of the water to the mixer first, then add the plaster. SuperTherm should be mixed as full bag batches. Mix for several minutes, then add the remaining water if required to reach the correct consistency.
Check the mix regularly and scrape any dry material from the back and sides of the mixer to maintain an even, fully blended insulating plaster mix.
To maintain uniform thermal and structural performance, keep water content and mixing consistency the same from batch to batch.
Applying SuperTherm Insulating Plaster
Apply an initial thin bonding coat of 3 to 5 mm, pressing the plaster firmly onto the substrate to establish a good bond. Do not allow this coat to dry; apply the next coat immediately, working wet-on-wet. Use minimal pressure on this and subsequent coats to preserve the thermal plaster's aerated structure.
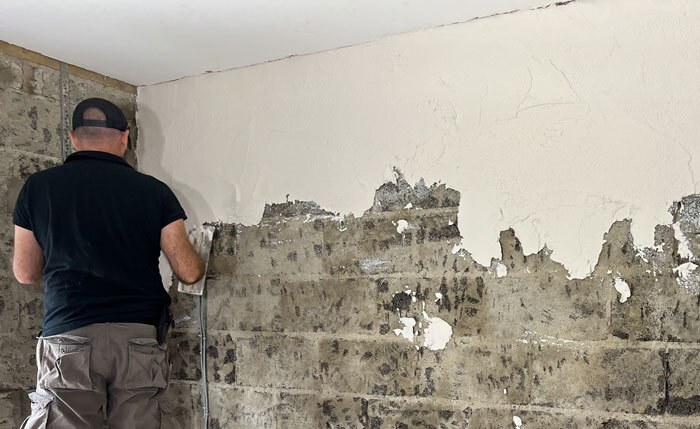
SuperTherm can be applied in multiple layers. Each layer can be up to 50mm thick, making it suitable as a high-build insulating plaster for internal masonry applications.
Level the plaster with a serrated straight edge or notched trowel, using a light touch to avoid compressing the insulation layer.
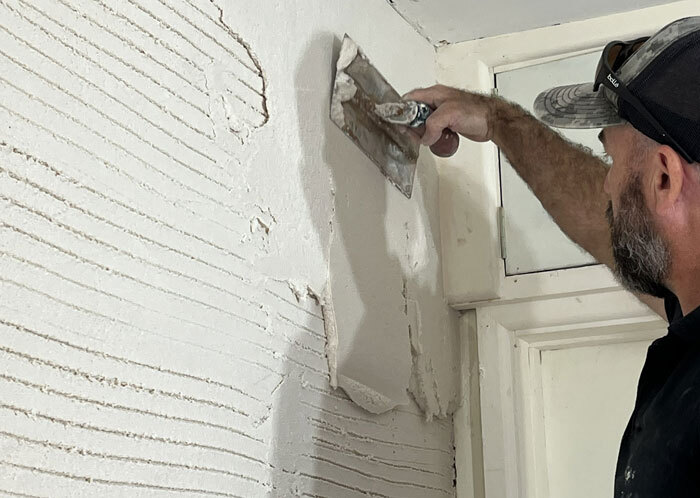
For intermediate coats, use a steep angle to create a strong horizontal key for the next layer of breathable plaster.
For the final coat of insulated plaster, use a shallow angle with the serrated edge or trowel to create a finer key for the topcoat. Do not float finish the base plaster.
Avoid applying plaster in extreme temperatures. The recommended application temperature for SuperTherm thermal plaster is between 5°C and 25°C.
Curing SuperTherm Plaster
Maintain a humid environment, or lightly mist the surface occasionally, for the first 7 to 10 days. Slow drying supports strength development, and SuperTherm plaster will remain relatively soft during the first 2 to 3 days of curing.
When checking the plaster for hardness, use a flat hand rather than applying point pressure with a finger or knuckle.
Protective and Finishing Coats for SuperTherm
SuperTherm is not designed to be left as an exposed finish. It requires a meshed protective coat followed by a finishing coat of SuperTherm Topcoat.
Allow SuperTherm to cure for approximately 1 week if a cement mixer was used, or approximately 2 weeks if it was mixed with a plasterer’s whisk, before applying the protective and finishing coats.
First Coat / Protective Coat (2 Passes)
Apply a thin layer of SuperTherm Topcoat, press fibreglass mesh into the wet material, and immediately cover it with a second pass of Topcoat. Finish with a fine key to prepare the surface for the final coat.
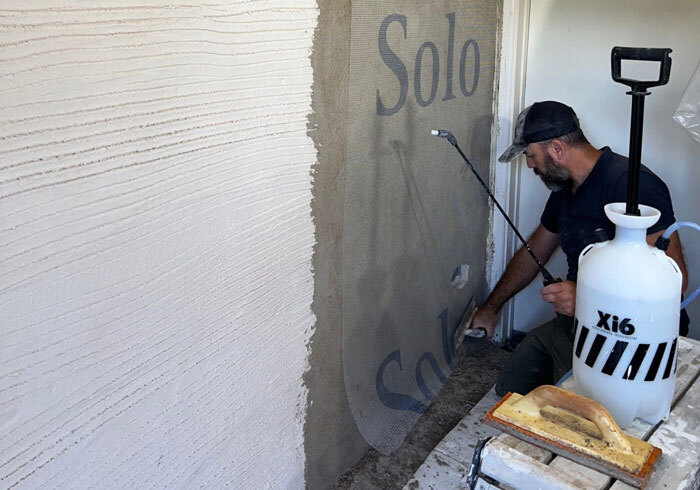
Second Coat / Finishing Coat
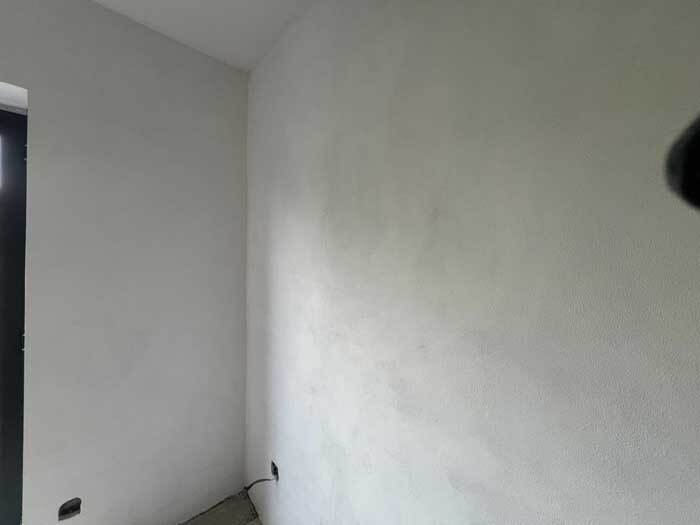
After 5 to 7 days, apply the final coat at up to 6 mm and finish as required with a trowel or float to achieve the specified surface appearance.
Further Reading:
For an idea of the process and finish, take a look at this blog post from our initial application test: